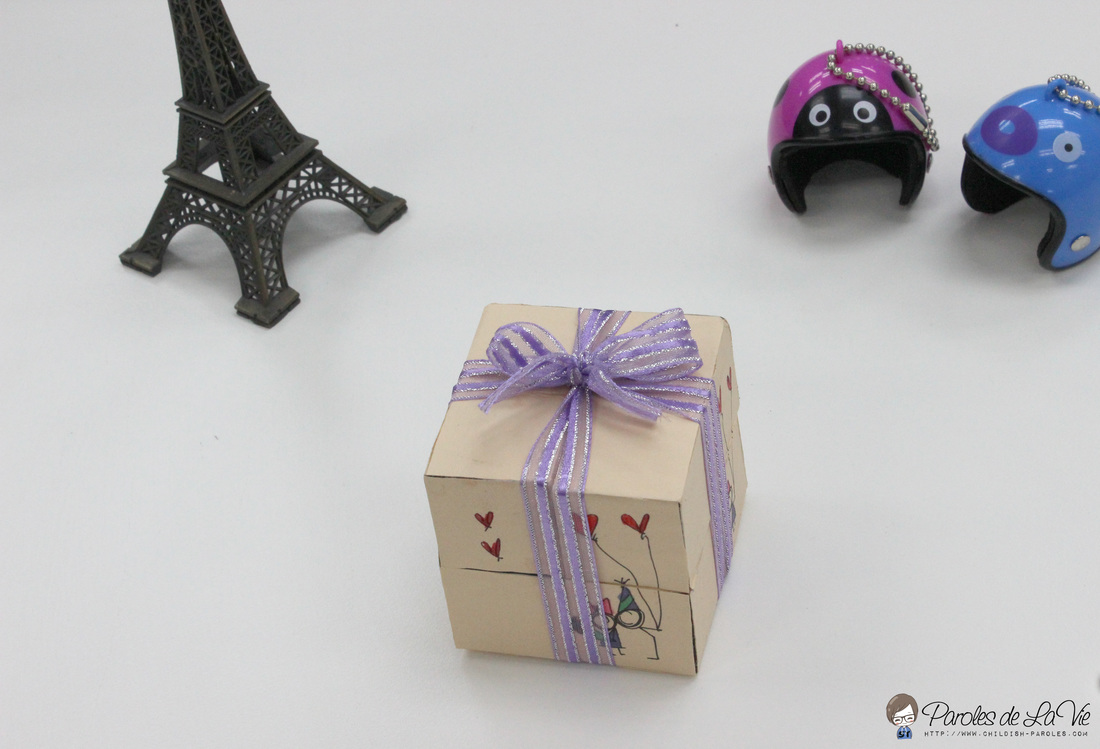
Homemade gift is always the best present for the one you love. And that’s why I love art and craft a lot. In this post, I am sharing how to make a loving but low cost personalized gift yourself at home.
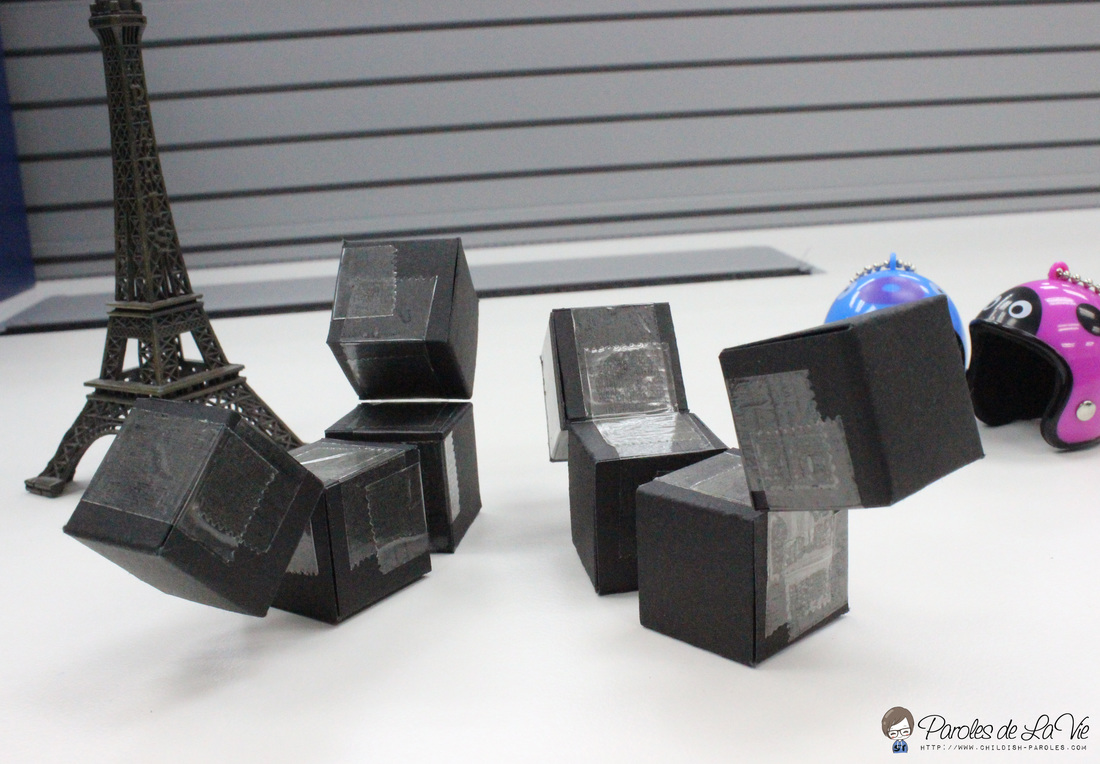
This is generally called as Magic Folding Cube. It was built by 8 small cubes, with 6 faces. You can fold in and out, changing the face and you will see different thing in there. Watch the video below to further understand how the cube works.
Note: I did this magic folding cube as Danny’s birthday gift. So, this is a birthday-themed magic folding cube.
Note: I did this magic folding cube as Danny’s birthday gift. So, this is a birthday-themed magic folding cube.
Posted by Danny Chuah on Thursday, December 11, 2014
Doesn’t it look fun? I seriously love doing this kind of creative but great handicraft for my loved one. Let’s go to the tutorial now.
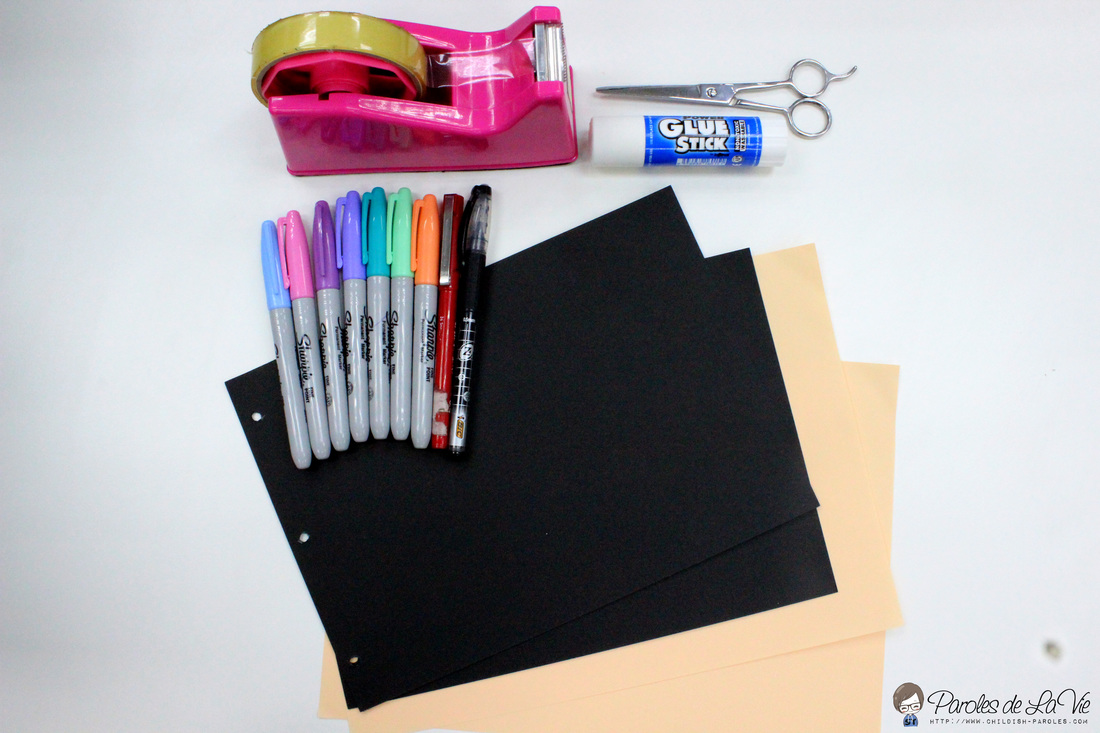
Materials:
- Cardboard paper or wooden cube
- Paper
- Color Pen
- Scissor
- Glue
- Cellophane Tape
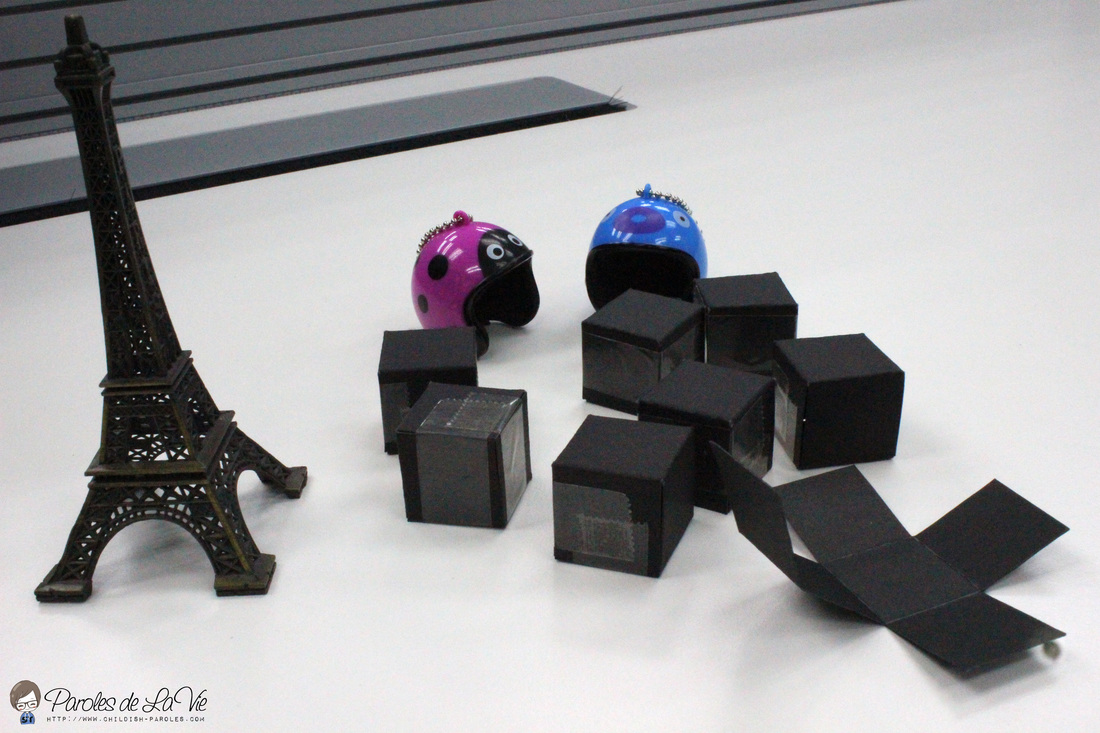
Step 1: Build 8 small cubes
Use the cardboard paper to build 8 small cubes. This is a very important step. Every cube must in the same size. Else, you couldn’t build a good folding cube. Size of the cube is totally depends on how big you want your folding cube to be. I prefer a handy and cute one, so, I chose to have 1.5 inch cube. Click to learn How To Make A Cube. However, if you don’t want to make your own cube, you can choose to buy wooden cube.
Use the cardboard paper to build 8 small cubes. This is a very important step. Every cube must in the same size. Else, you couldn’t build a good folding cube. Size of the cube is totally depends on how big you want your folding cube to be. I prefer a handy and cute one, so, I chose to have 1.5 inch cube. Click to learn How To Make A Cube. However, if you don’t want to make your own cube, you can choose to buy wooden cube.
Step 2: Form the folding cube
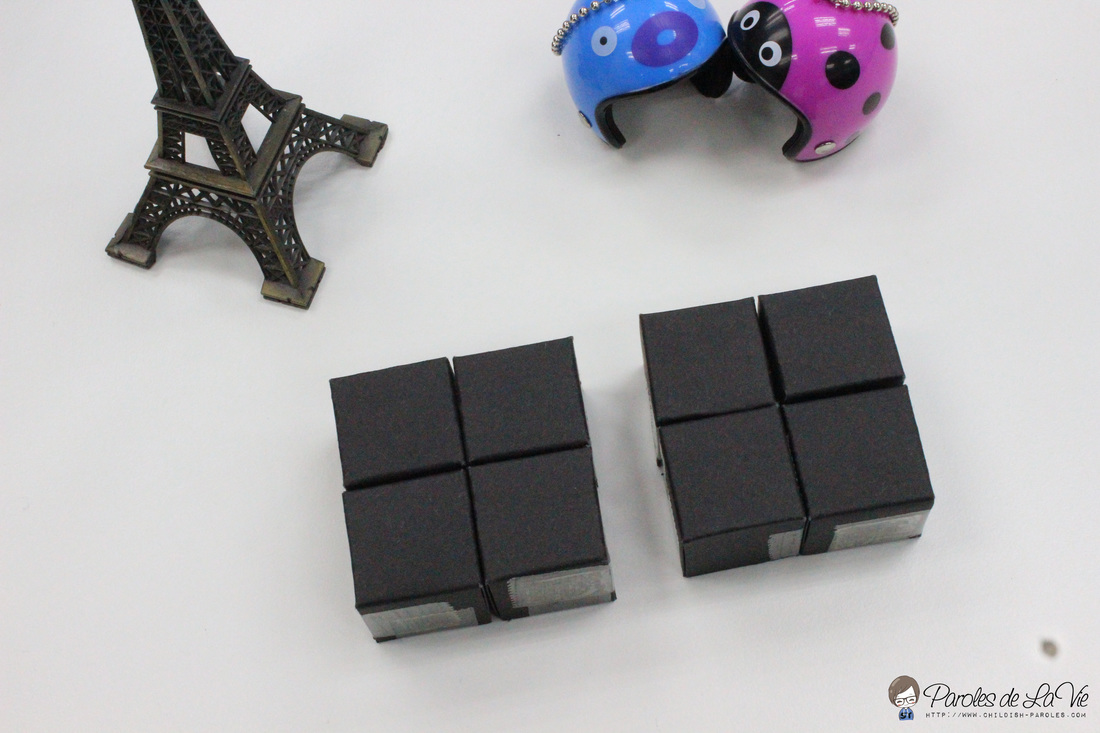
(a) Separate the cubes into two sets; four small cubes each.
(a) Separate the cubes into two sets; four small cubes each.
(b) Put one set aside (Set 2), and start doing another set (Set 1). Join two cubes in Set 1 with cellophane tape. Reinforce the hinge by using tape on both sides.
(c) Place a cube on the top left of cubes you have joined just now, and make a hinge with the tape on both sides.
(d) Place a cube on the top right of the cube set, and make a hinge.
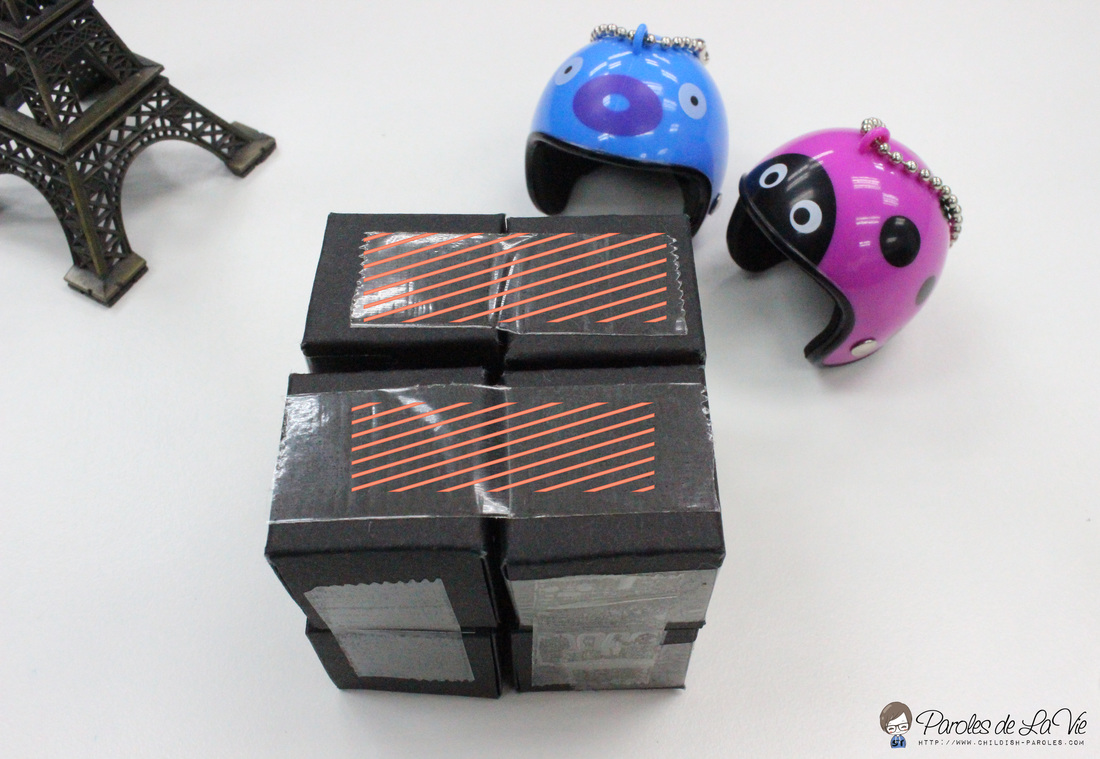
(e) Once you are done, Set 1 will look like below photo. Then repeat the same steps (a) to (d) for Set 2.
(f) After completing Set 2, you will have two identical cube set. Now, orient the two sets back to back. (Tip: Look at the bottom cubes, the side can be folded out is the back.
(g) Make a hinge on the top. Now, you are ready to decorate your folding cube.
Step 2: Decorate the cube
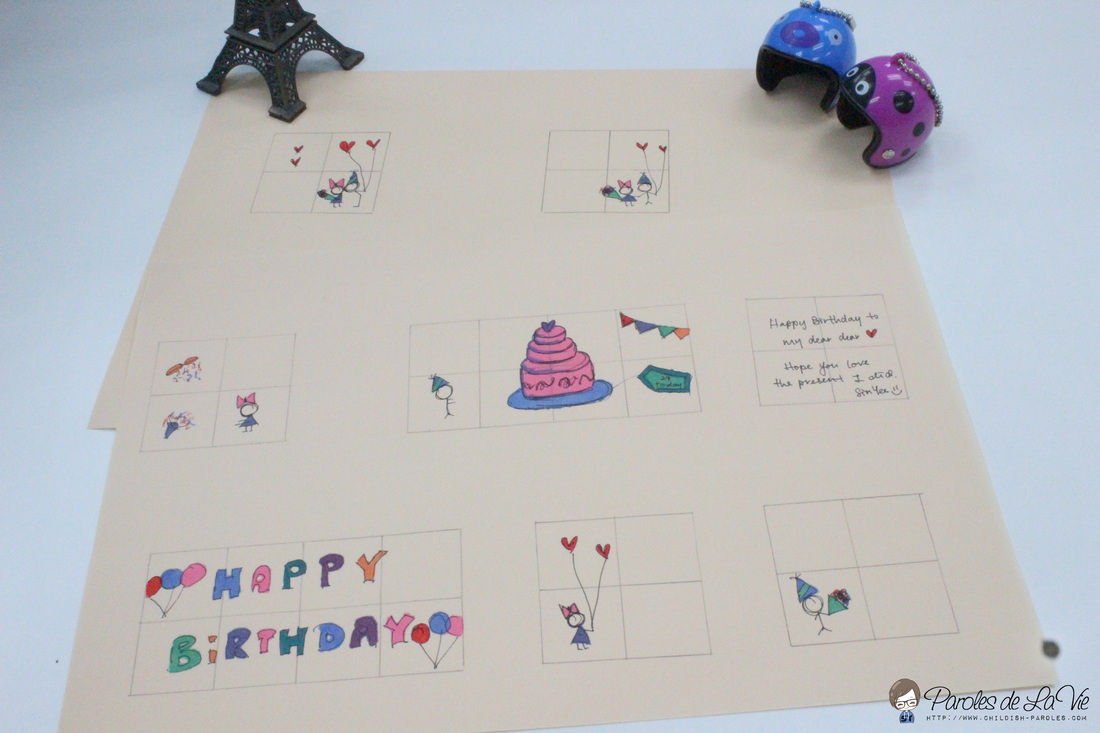
To decorate the cube, you can either draw or print photos. I drew some simple drawings with Sharpie Fine Point Marker Pens. I would advise you to plan what you want to put on the cube first, then plan the direction. This is because some faces are in rectangle, and hence, you would need to have wider picture or drawing on that face.
To decorate the cube, you can either draw or print photos. I drew some simple drawings with Sharpie Fine Point Marker Pens. I would advise you to plan what you want to put on the cube first, then plan the direction. This is because some faces are in rectangle, and hence, you would need to have wider picture or drawing on that face.
Once you are done with the pictures or drawings, cut them into squares and stick them on the cube face by face. Or, you can choose to stick the entire piece on the cube, then only cut it into square to suit the cube perfectly. And now, your DIY folding cube is done! It is actually very simple as long as you know how to make hinges on the small cubes.
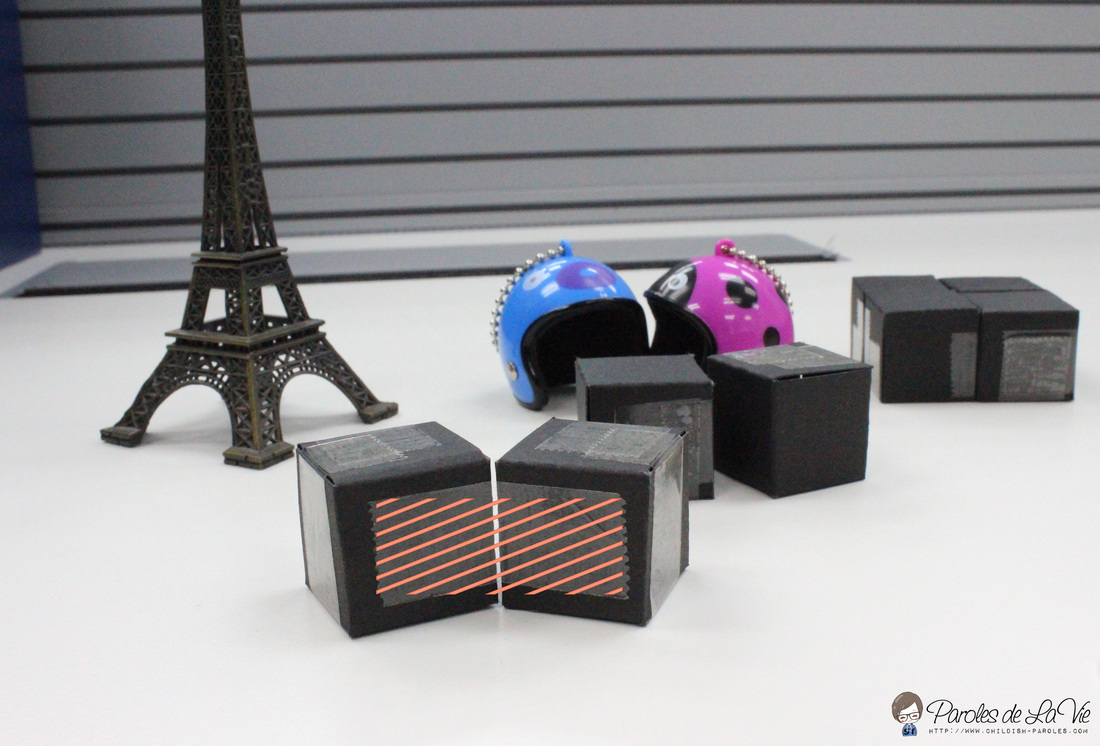
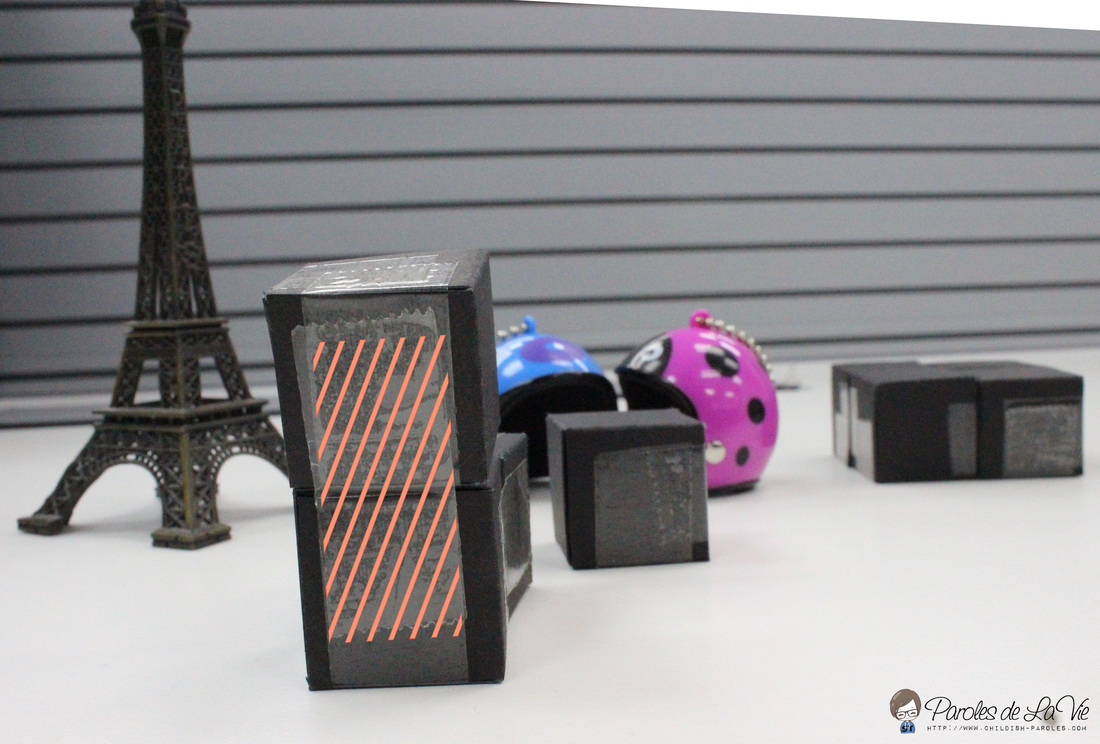
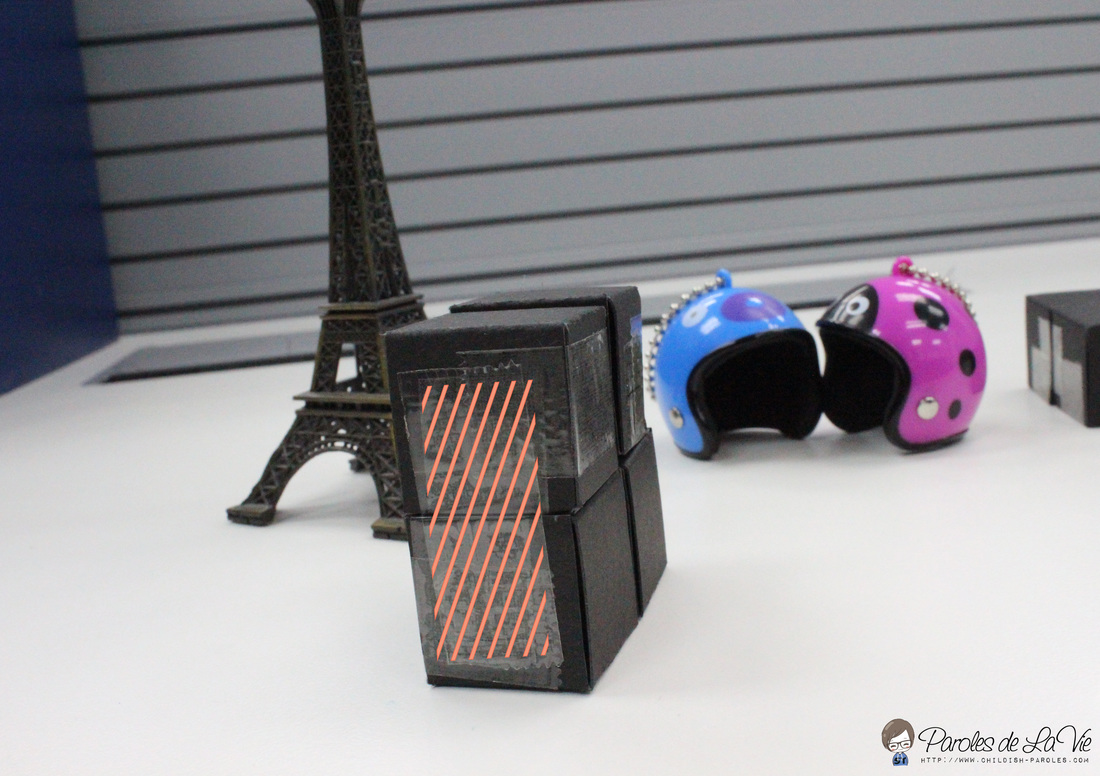
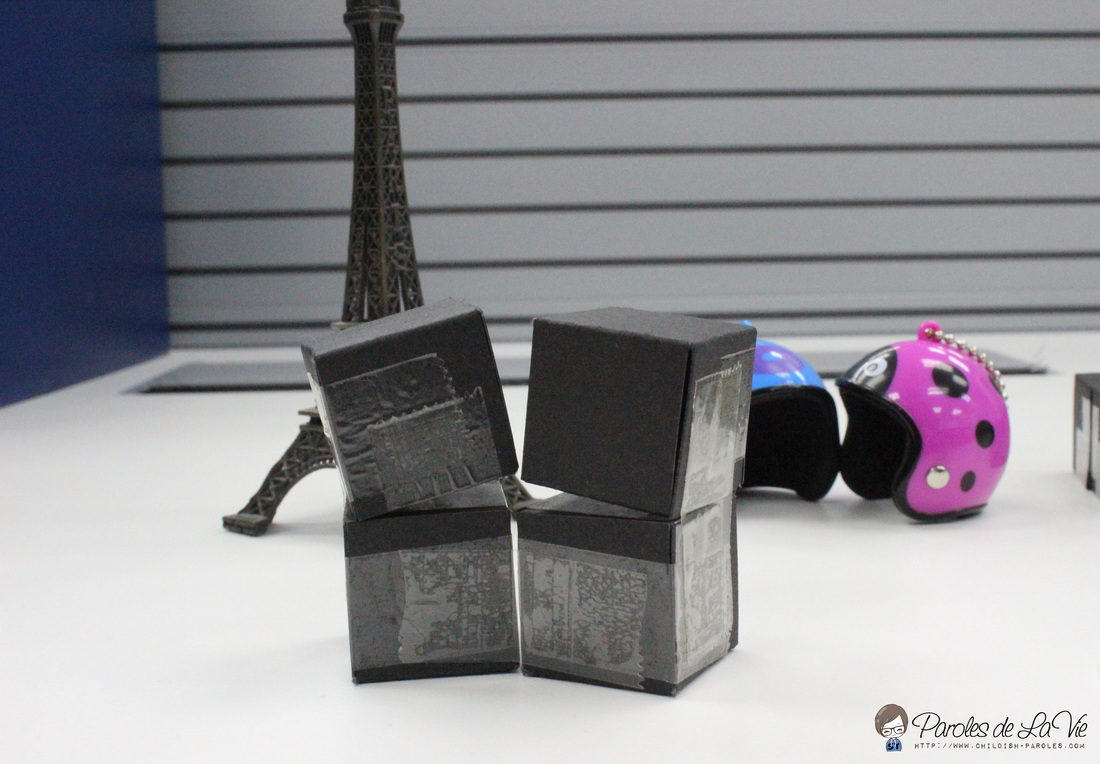


yes, I like it so much!!! Such a creative, lovely and sincere idea!!
Glad to know you like this idea. You may try it yourself. Any question, please feel free to drop me a message.
Hi,
Can I have video in small motion,when you made hinge on cubes,because I just loved this,want to make it for my dad bday.please give me the video link,so that I can also make 🙂
Hi Ritu, sorry for the late responding. I don’t have a slow motion video. But you definitely can search in youtube with title “Magic Folding Cube Tutorial”. For the pasting part, I personally prefer to cut it and paste one by one onto the cube. But some people love pasting the big piece on one face, then cut accordingly. Yes, you are right, if you don’t cut it, it can’t move. Any question, please feel free to ask. For quicker response, you may shot me a message at my FB Fanpage: http://www.facebook.com/childish.paroles
I do have one query for decorating the cube.
As you said,we can paste the whole drawings on cube,then how it will move ??
For each side of cube we need to cut the drawings separately ??
Wow, that is seriously cool and cute! I love all the graphics you drew! Such a simply but very thoughtful gift idea x
Thank you Sim. Try it yourself~
How creative! I want to make this for my kids. Thanks for sharing.
Glad you love it. If you have any question when doing it, feel free to ask me.
This is such a cute DIY craft! A wonderful gift to give to a loved one. 🙂 I will be trying this over the weekends. 🙂 Hoping to do it right! Hehe.
Thank you. Good luck in creating your awesome cube. Having issue during the process, feel free to ask me.
This year’s anniversary gift…check. This is so awesome. It has already been bookmarked. Thanks for sharing this!
Glad that I give you an idea on your upcoming anniversary!
oh my, this is such an amazing idea! ive always wanted to own something like this but now i can make it
Thanks Nicol~ Good luck in making your own cube.
This is amazing! I want to do this. better prepare the materials!
OMG! this is soooo cute. I want to create this for a cute gift to someone. Thanks for this very detailed DIY
So creative and so cute! I’d love to have my kids make one for me!
Good luck in making. It has so much fun!
A cool and fun DIY folding cube. Love to make one for my youngest.
Good luck in making your own cube..
Cute idea. But it is hard to put a small item in each of the small cubes, isn’t it? With all the tape, it would be hard to open each small gift?
You don’t need to put thing inside the cube, just paste on top.
This looks so creative. You can really add a lot of design in your own personalized magic cube.
You’re right! That is the fun part. Maybe think of something out of box.
This is good idea for crafty people and given a chance to nake it to another level. Cubes are good for mind solving activity.
I find making my own cube was the most challenging part. Because I must did all as similar as each other. If one was not in shape, the entire cube ruin.
Thanks. Share this to your friends who like this. 😉
This is something that I would love to do with my toddler. I’m always looking for new things to try and I love this.
Then you must try this. Can keep it for long time. Maybe do something with your toddler growth? It must be so fun.
Oh my niece would absolutely love to get stuck in and try this. we love getting crafty and are always on the look out for new things to try.
Glad that I provide you an idea. Try it yourself. If any question, feel free to shot me a message.
This foldable cubes are so cute and easy to make. I can draw, color, write whatever message that I would like to deliver. Thanks for the ideas.
Welcome. Hope you enjoy making your own cube.
Now this is a pretty different DIY and a really nice, affordable idea for presents. Thanks for the video.
<a href=”http://whatfatemahsays.com>Fatemah Sajwani | What Fatemah Says </a >
Thank you. You may try it your own